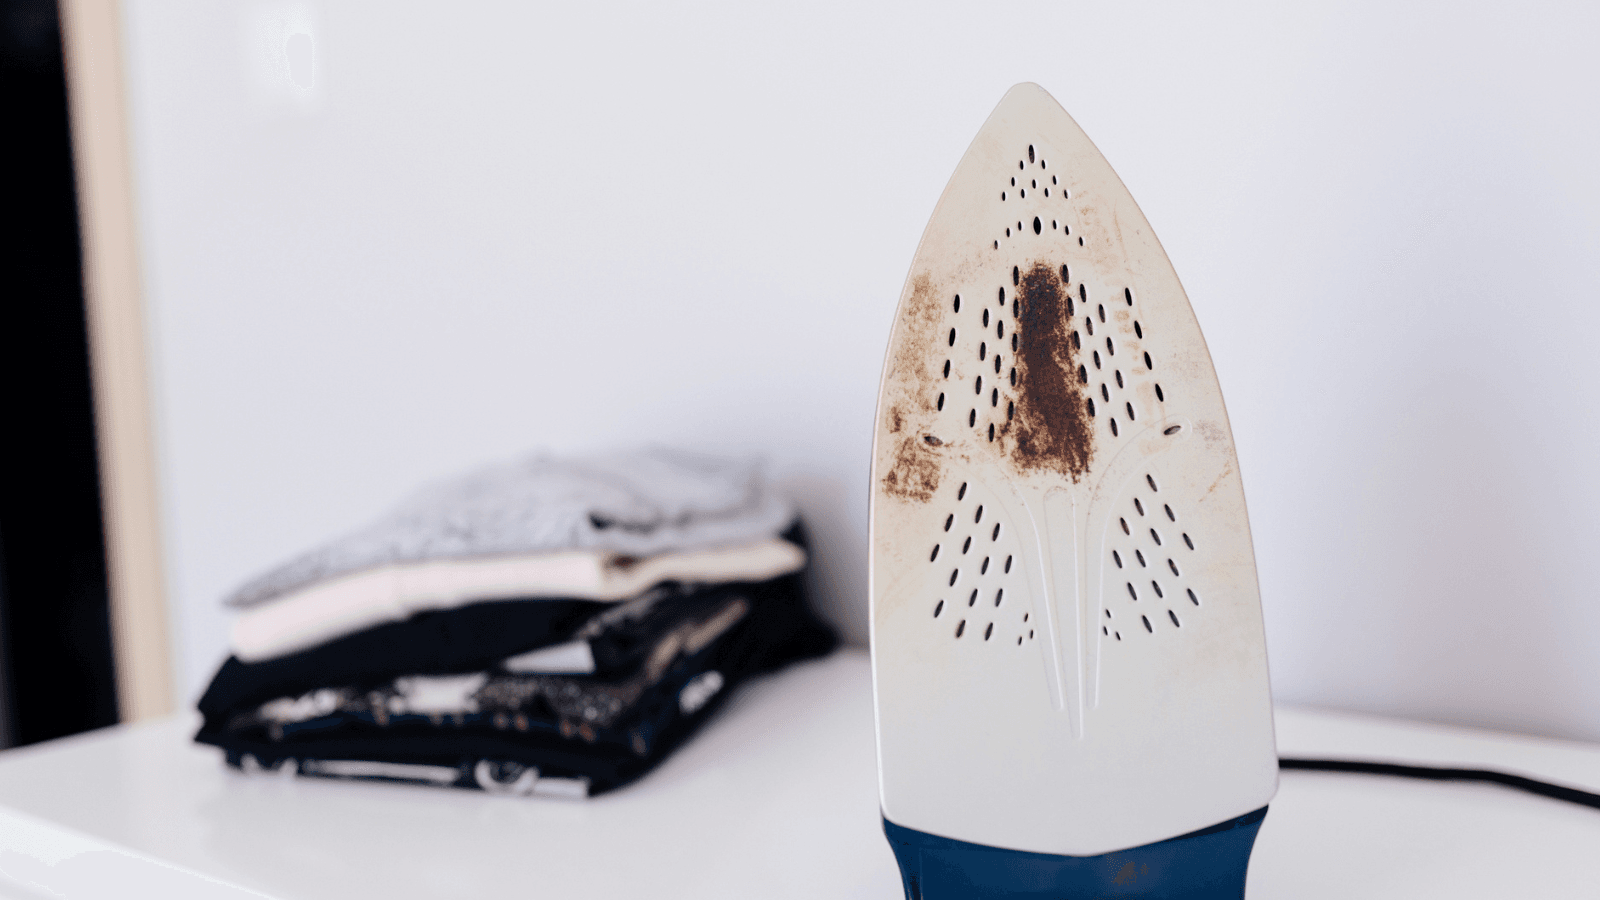
It starts with a split second of distraction. Maybe the phone rang, or you were trying to iron a delicate polyester blouse on a setting meant for heavy denim. Before you know it, you see that dreaded black or brown smudge on the bottom of your iron. Not only does it make the iron drag across your clothes, but it also threatens to ruin every garment it touches with ugly, scorched skid marks.
Cleaning a burnt soleplate can be intimidating. You want the gunk gone, but you are likely worried about scratching the protective coating. A scratched iron is often worse than a dirty one because those tiny grooves catch on fabric fibers and cause even more burning over time.
The good news is that you probably already have everything you need in your kitchen or medicine cabinet to fix this. Here is a comprehensive guide to the most effective, scratch-free DIY methods to get your iron gliding smoothly again.
Understand Your Soleplate Before You Start
Before you reach for the cleaning supplies, it is helpful to know what your iron is made of. Most modern irons fall into three categories:
1. Stainless Steel: These are durable and provide great heat distribution, but they can be prone to “starchy” buildup.
2. Ceramic: These have a coating that glides beautifully but can be chipped if you use metal scrapers.
3. Non-Stick (Teflon-style): These are the most delicate. Any scratch on a non-stick surface will cause the coating to peel, rendering the iron nearly useless.
Regardless of the material, the goal is always the same: chemical or gentle mechanical action, never harsh scrubbing.
Safety First: Preparing for the Clean
Cleaning an iron often involves heat, which means there is a risk of burns. For some methods, the iron needs to be cold. For others, it needs to be piping hot. Always read the instructions carefully. If a method requires a hot iron, use tools like tweezers or thick rags to protect your skin. Also, make sure you are working in a well-ventilated area, especially if you are dealing with melted plastic or chemical reactions.
Method 1: The Paracetamol Magic Trick
This is perhaps the most famous “internet hack” for irons, and for good reason: it actually works. This method is specifically for localized burnt spots or melted synthetic fabrics.
When to use it: For stubborn, black, carbonized marks on a hot iron.
The Process:
- Turn your iron to its highest heat setting.
- Take a plain paracetamol tablet (the white, non-gel, non-coated kind).
- Using a pair of tweezers or pliers to hold the tablet, rub the pill over the burnt area.
- The pill will melt into a liquid that reacts with the burnt residue, effectively liquefying the “burn.”
- Use a damp cloth to wipe away the melted mess.
- Repeat until the mark is completely gone.
Why it works: The chemical composition of the tablet acts as a solvent for carbonized material without requiring any abrasive force.
Method 2: The Baking Soda Paste
If your soleplate has a general layer of brown residue or sticky starch buildup, baking soda is the gold standard. It is mildly alkaline and provides a very fine grit that is softer than the metal or ceramic of your iron.
When to use it: For general grime or starch buildup on a cold iron.
The Process:
- Mix two parts baking soda with one part water to create a thick, spreadable paste.
- Ensure the iron is completely cold and unplugged.
- Spread the paste over the affected areas of the soleplate. You can even use a soft toothbrush to push some paste into the steam vents if they are clogged.
- Let it sit for five to ten minutes.
- Wipe the paste away using a clean, damp microfiber cloth.
- If the residue is still there, rub gently in a circular motion with the cloth.
- Use a cotton swab to clear out any leftover paste from the steam holes before you turn the iron back on.
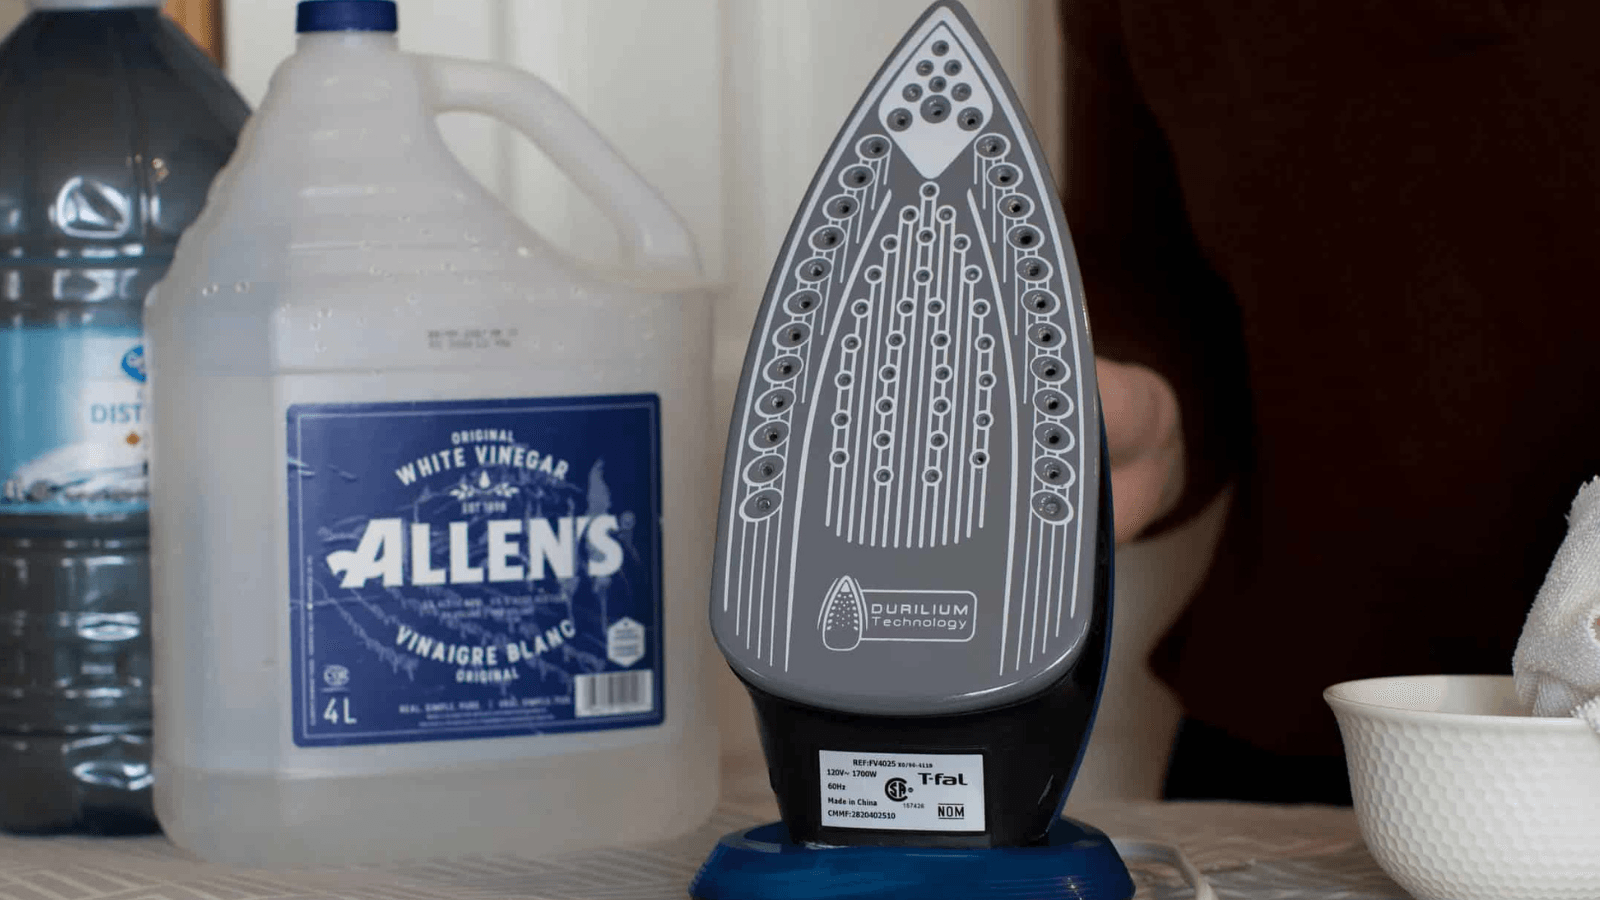
Method 3: The Vinegar and Salt Scrub
Vinegar is a fantastic acetic acid cleaner that breaks down mineral deposits and light scorching. Adding salt provides a bit of mechanical action to help lift the residue.
When to use it: For moderate scorching or if your iron is also spitting minerals.
The Process:
- Mix a 50/50 solution of white vinegar and water in a small pot.
- Heat the mixture on the stove until it is warm but not boiling.
- Add enough salt to the mixture so that it doesn’t fully dissolve (you want some grains left).
- Dip a soft rag into the mixture and scrub the cold soleplate.
- For tougher marks, let the vinegar-soaked rag sit on the soleplate for 15 minutes before scrubbing.
- Wipe with a fresh, damp cloth to remove the vinegar smell.
Method 4: Removing Melted Plastic with Acetone
Accidentally running your iron over a plastic button or a synthetic decal is a nightmare. The plastic melts instantly and creates a gooey, sticky mess.
When to use it: Specifically for melted plastic or rubber.
The Process:
- Unplug the iron and let it cool down completely. This is vital because acetone is highly flammable.
- Soak a cotton ball in 100% pure acetone (nail polish remover works if it is the high-strength variety).
- Dab the acetone onto the melted plastic. It will begin to dissolve the bonds of the plastic.
- Wipe the area with a clean cloth.
- Once the plastic is gone, clean the soleplate with soapy water to remove any chemical residue.
Method 5: The Toothpaste Polish
Non-gel, white toothpaste contains very mild abrasives (usually silica or calcium carbonate) designed to clean tooth enamel without scratching it. This makes it perfect for delicate iron surfaces.
When to use it: For light marks on non-stick or ceramic soleplates.
The Process:
- Apply a small amount of white toothpaste to the cold soleplate.
- Rub it in with a soft cloth, focusing on the stained areas.
- Wipe it off with a damp cloth.
- Be very careful to avoid getting toothpaste in the steam vents, as it can be difficult to remove once it dries.
Method 6: Dish Soap for Daily Maintenance
Sometimes the “burn” is just a buildup of fabric softener or light dirt. Before trying the heavier methods, a simple wash might do the trick.
When to use it: For light stickiness or as a final cleaning step.
The Process:
- Mix a few drops of mild dish soap into a bowl of warm water.
- Dip a non-abrasive sponge into the suds.
- Wipe down the cold soleplate thoroughly.
- Dry with a clean towel.
Things You Should NEVER Use
In a moment of frustration, it is easy to reach for something heavy-duty. However, using the wrong tool can permanently ruin your iron. Avoid the following:
- Steel Wool or Scouring Pads: These will create deep scratches that trap fabric fibers and lead to more burning.
- Metal Knives or Spatulas: It might be tempting to “scrape” the burn off, but you will almost certainly gouge the metal.
- Harsh Industrial Cleaners: These can emit toxic fumes when the iron is heated back up and may dissolve the internal seals of the steam chamber.
How to Prevent Future Burn Marks
Once your iron is sparkling clean, you will want to keep it that way. Most burn marks are entirely preventable with a few habit changes:
- Clean Your Soleplate Regularly: Don’t wait for a major burn. Wipe the cold soleplate with a damp cloth after every few uses.
- Use the Right Temperature: Always start with the lowest temperature fabrics (synthetics) and move up to the higher heat items (linen and cotton). This prevents you from accidentally hitting a delicate fabric with a linen-level heat.
- Clean Out Starch: If you use spray starch, wipe the iron down more frequently, as starch is the primary cause of that sticky brown buildup.
- Iron Inside Out: For clothes with decals, prints, or delicate finishes, iron them inside out to protect both the garment and your iron.
A clean iron is the difference between a frustrating chore and a satisfying result. By using these gentle, DIY methods, you can extend the life of your appliance and keep your wardrobe looking pristine for years to come.
In the market for a new steam iron? Click here to see the best steam irons available today.