Efficiency is the secret to a perfectly pressed dress shirt, especially when you are racing against the clock. Most people spend fifteen minutes wrestling with sleeves and collars because they lack a systematic approach, often creating new wrinkles while trying to smooth out old ones.
However, by adopting a professional sequence used in high-volume valet services, you can reduce that time to just three minutes without sacrificing the crisp, sharp finish of a dry-cleaned garment.
The “pro-speed” method relies on the physics of the fabric and the order of operations. By starting with the smallest, most complex parts of the shirt and finishing with the large panels, you ensure that the sections you have already completed stay pristine as you move the garment across the board.
Tip: Buy the best steam iron for even greater efficiency!
The Prep: Tools for Velocity
Before you start the timer, your workstation must be optimized. Speed is impossible if you are constantly stopping to refill water or waiting for the soleplate to reach the target temperature.
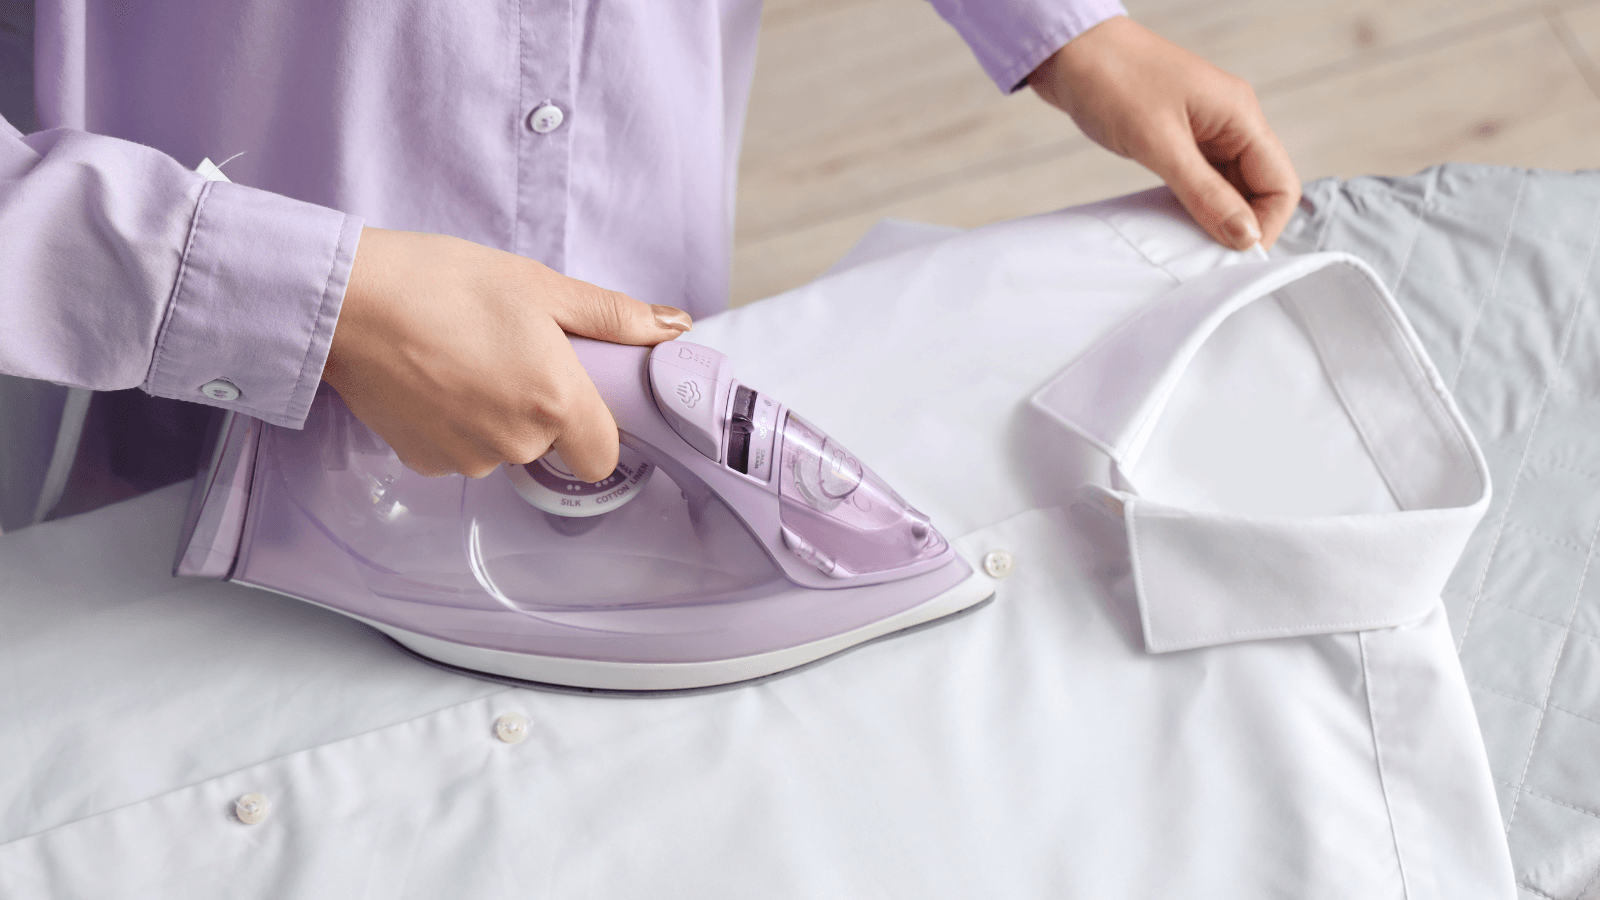
- The Heat Setting: Set your iron to the “Cotton” or “High” setting for most business shirts. If the fabric is a synthetic blend, drop it down to “Medium” to avoid melting the fibers.
- Steam Capacity: Fill the reservoir to the maximum line. Steam is the primary driver of speed because it relaxes the fabric bonds instantly, allowing the weight of the iron to flatten the surface in a single pass.
- The Spray Mist: If a shirt is bone dry, a quick spritz of cool water from the iron’s nozzle or a separate spray bottle can make stubborn creases disappear twice as fast.
Minute 1: The Foundations (Collar and Cuffs)
Professionals start with the double-layered sections. These parts are sturdy and hold heat well. By finishing them first, you don’t have to manipulate the shirt as much later, which prevents “secondary wrinkling” of the larger body panels.
The Collar (30 Seconds)
Unbutton the collar and lay it completely flat on the board with the underside facing up. Iron from the points toward the center to prevent the fabric from “bunching” at the tips. Flip it over and repeat on the front side. If you prefer a stiff look, give it one final press along the fold line.
The Cuffs (30 Seconds)
Unbutton the cuffs and spread them flat. Iron the inside first to smooth the lining, then flip them over for a quick pass on the exterior. Use the pointed nose of the iron to navigate around the buttons. Never iron directly over a button, as the heat can weaken the thread or leave an indentation on the fabric.
Minute 2: The Architecture (Sleeves and Yoke)
Sleeves are often the most time-consuming part of the process, but the “flat-lay” technique simplifies them into a few quick glides.
The Sleeves (45 Seconds)
Lay one sleeve flat on the board, using the bottom seam as your alignment guide. Smooth the fabric with your hand to ensure there are no hidden folds in the lower layer. Start at the shoulder and glide firmly toward the cuff. If you want a sharp “military” crease along the top, press the edge with the iron. For a softer look, iron up to the edge but do not press down on it. Repeat the process for the second sleeve.
The Yoke (15 Seconds)
The yoke is the shoulder panel on the back of the shirt. Drape one shoulder over the narrow end of the ironing board. Iron from the outer shoulder toward the center of the neck. Shift the shirt to the other side and repeat. Because this area defines how the shirt sits on your frame, getting it smooth is vital for a tailored appearance.
Minute 3: The Body (The Final Pass)
With the extremities finished, you can now focus on the large panels that remain draped over the board. This is the fastest part of the process because the shirt is already warm from the previous steps.
The Front Panels (45 Seconds)
Start with the side that features the buttons. Lay it flat and use the nose of the iron to quickly navigate the gaps between each button. Move to the other front panel (the one with the buttonholes) and iron in long, vertical strokes from the shoulder down to the hem.
The Back (15 Seconds)
Spread the back of the shirt across the widest part of the board. Since the yoke and sleeves are already finished, you only need to perform two or three long, continuous sweeps from top to bottom. The residual steam in the board and the heat from the iron will make short work of any remaining creases.
Why the Sequence Matters
The logic of the pro-speed method is to move from the parts that “hang” off the board to the parts that “lay” on the board. If you iron the back first and then move to the sleeves, the back of the shirt will inevitably bunch up and re-wrinkle while you are wrestling with the arms. By finishing with the large front and back panels, the shirt remains flat and crisp as you transition it directly to a hanger.
Maintenance for Maximum Speed
To keep your “three-minute” sessions consistent, you must maintain your iron. A dragging iron or a clogged steam vent will add minutes to your routine.
- Clean the Soleplate: If you notice the iron “sticking” to the fabric, there is likely a buildup of starch or burnt fibers. Use a damp cloth or a specialized soleplate cleaner to restore the glide.
- Monthly Descaling: Limescale blockages reduce steam pressure. Use the “Self-Clean” function on your iron once a month to ensure the vents stay clear and powerful.
- The Immediate Hang: The final step of a fast iron happens off the board. Hang the shirt immediately and button the top two buttons. This allows the fabric to cool in the correct shape, locking in the smooth finish you just created.
Mastering this sequence turns a tedious chore into a predictable, three-minute habit. You save time, protect your clothing, and ensure that you always step out the door looking perfectly put together.